A PATH TO A CAREER AS AN ILLUSTRATOR
You don’t need a college degree, but you do need commitment and a good work ethic.
There’s a difference between “liking to draw” and “making a living” as an artist. If you just like to draw as a hobby, then you can focus on whatever you like to create. If you want to draw for a living, you also need to learn to create what others envision. That requires a specific set of tools and skills that need to be strong enough to adapt to a wide variety of needs, styles, and approaches. In my experience, it starts with learning to accurately draw what you see. Once you have that under control, stylization, interpretation and exploration are not only more productive but more enjoyable.
I’ve worked freelance, as an employee, as a volunteer, for small businesses and for major Hollywood studios. I’ve worked under art directors and as an art director. In almost all cases, I had to learn to be part of a group effort and to quickly put others’ ideas on paper for discussion. The steps below reflect the patterns that I’ve noticed identify the most valuable artists I’ve worked with across many productions.
This isn’t the only way to find success as an illustrator. You may skip the fundamentals of learning to draw what you see, and find a specific style and audience that converge at the right place and time in your life in a way that turns a profit. But that approach can carry a lot of risk, since the variables for success can be quite specific. Learning to draw what you see will take you much further in many more disciplines and give you the confidence to adapt to almost any creative challenge. I think it’s the path with the best chances for success because it’s the path that prepares you for the greatest range of applications.

1) Learn perspective. It’s like learning the alphabet before you learn a language, and will lay a foundation for everything else you learn in your illustration career. Artists who can’t draw accurately most likely haven’t learned perspective well. Artists who have a strong understanding of perspective can draw just about anything very well and can learn new styles quickly. Start at reubenlara.com/perspective
2) Learn anatomy basics with a focus on using primitive shapes. This will help you learn to express forms and block out ideas clearly and quickly. You don’t necessarily need to become an anatomy expert. But being able to draw posed figures with reasonably realistic proportions will open doors to many, many more client projects and will make the work you do accomplish more useful to real-world productions. Start at reubenlara.com/anatomy
3) Set aside a monthly budget for online education and then set a schedule to go through the courses. Learn the same topic from at least two (if not three) teachers whose work you want to emulate. Everyone teaches slightly differently, and the more variety of explanations you expose yourself to, the better you’ll understand a topic. Don’t limit yourself to “your style” or a specific discipline or subject matter. Take a short course on Typography or Product Design or Environment Design, even if you think it doesn’t relate to your area of interest. The more you expose your brain to a variety of disciplines, the more you’ll see the basic fundamentals of design and draftsmanship at play. You’ll also be able to take on a greater variety of work, knowing that you can continue to build on some of the introductory courses you’ve been exposed to. I still attend new workshops to this day, and even though I’ve been doing this for a long time, I always learn something new or get another valuable perspective on what I already know. A mindset about education and links to resources can be found at reubenlara.com/education
4) Set aside a budget to pay for regular critique. This can be paying for an hour of an artists’ time (once a month, once every two months, etc), or attending a community college course with access to art instructors who can review your work. The more you benefit from critique the faster you’ll grow.
5) Don’t get obsessed with social media. Posting to social media is fine, but the danger is that, while you are learning, you only spend time creating art to impress or grow your followers and don’t spend enough time exercising your art skills. If you do post, don’t be overly influenced by either good or bad comments. Most of your audience doesn’t know how to critique art in a way that will help you grow.
6) Take a short business course. Artists often don’t make money because they don’t understand how business works or the relationship between the value of their work and the needs of their clients’ businesses. Additionally, they risk not developing the ability to understand, respect, and work within someone else’s budget. Udemy.com, LinkedInLearning.com, and Skillshare.com all have short, inexpensive business classes. Take two or three, you’ll learn something from each.
7) Get the right equipment. If you’re seriously considering a career in art, you’ll eventually need some sort of graphic input device, like a graphics tablet or a graphics display. Graphics displays will help you make faster progress than graphics tablets, since they allow you to draw right on the screen (like an iPad, except much larger and connected to your computer). If you can save up for a graphics display, I highly recommend investing in at least a Wacom Cintiq 16″, preferably a Wacom Cintiq 22″. Anything smaller can start to hinder your progress since you may not be able to work ergonomically or with enough screen space to work efficiently and sustainably.
“Can’t I just work on an iPad?” Yes you can. However, in professional workflows, you’ll eventually need to harness the power of a full desktop operating system, where you can quickly manage files, access shared project folders and multitask among several applications. At the moment, doing this on a mobile device has a number of limitations. Additionally, learning to use the desktop versions of industry-standard software like Photoshop, or other powerful tools like Clip Studio or Blender, as soon as possible, will give you a head start to diving into real production work. Tablets like the iPad are fantastic companion tools that I still use in my own client workflows. But it’s like the difference between a bicycle and a car. Both are great, it’s great to have both, a bicycle is better for some specific situations, but on the whole, a car will take you much further.
“Wacom products are expensive! Are there alternatives?” I’ve only ever worked on Wacom Cintiq graphic displays, so I can’t really give honest feedback about other products. I can say, though, that the Cintiq displays are workhorses, last a long time, and are a good investment in the long run. But I’ve heard excellent things about Huion products, and from what I’ve seen they are high quality and offer professional products. The only thing that keeps me staying on the Cintiq line is the incredible Wacom Art Pen. It’s a stylus you need to purchase in addition to the Cintiq (the Cintiq comes with a standard stylus too), but it’s the only stylus on the market that allows you to rotate your digital brush as you rotate the barrel of the stylus. No one else I know is offering a similar stylus, and I promise you it 100% enhances the drawing and painting experience. Once you’ve tried it, it’s hard to paint with other stylus’ (even the Apple Pencil doesn’t register barrel rotation, only tilt). But that being said, work within your budget. You could start out with a lower end product, and as you start to make money from your art, you’ll be able to afford higher end tools.
“I can’t afford a graphics display.” That is a totally valid circumstance that may be beyond your control. But don’t give up! While every career has some investment requirements, don’t let that stop you from learning the basics of perspective and primitive-based anatomy. Artists have been learning this long before computers came along, so… you can do this with paper and pencil! But you should know that, to be competitive and relevant in today’s illustration industry, you’ll likely need to figure out a way to get access to a minimum amount of digital art equipment. The sooner you can do this, the sooner you’ll be able to enter the workforce. But until then… just draw!
“Is Windows or MacOS better?” This is totally a matter of preference. I prefer the MacOS operating system because it integrates well with all my other Apple devices, and I just like the file management and overall experience better. But Windows is a very powerful operating system as well, and you can get Windows machines for much cheaper. These days almost every graphics application experience (for drawing and painting) is nearly identical and equally powerful, so let your budget and preference be the deciding factor.
“OK I’ve decided to get a Cintiq or similar graphics display. Should I get a 16-inch or a 22-inch? Or even a bigger one?!” This is totally a balance between budget, preference, and working space. You may have the budget for the top-of-the-line beast-size, but your working desk space may not allow for it! I worked professionally on the 13″ Cintiq for a couple of years and got it all done just fine. However, it did take a toll on my neck and back, since it doesn’t allow for the kind of range of motion my body needs to work sustainably. Also, I found myself straining my eyes a lot since all the icons and graphics were tiny. But your arms may be shorter and your eyes may be sharper in a way that such a size may be just fine for you! I recommend making a cardboard mockup of the size you’re interested in and simulate working with it in your specific space. Download the “Technical Specifications” PDF of the display you’re considering, and find both the “Active Area” and “Size” measurements. Your cardboard shape should match the “Size”. Then take a marker and draw out the “Active Area” roughly in the middle of the cutout. The “Active Area” is the actual screen. Use this physical mockup to understand how the Cintiq will fit into your workflow and drawing space. It will also be helpful to decide whether or not you should invest in a small wireless keyboard. This is especially helpful if you are connecting your display to a laptop, whose keyboard may be too awkward to access comfortably when the Cintiq is in place.

8) Learn essential applications. For beginners who are serious about a career as an illustrator, I recommend learning Clip Studio Paint . It’s inexpensive and is an industry standard tool for sketching, painting, storyboarding and animating.
Learn Clip Studio for the Absolute Beginner (LinkedIn)
Learn Clip Studio Basics (FREE, intermediate)
If you hope to make a living or be useful professionally, you must have a working knowledge of Adobe Photoshop. This is not negotiable. After you get a handle on Clip Studio, buckle down, pay for the Adobe subscription and learn it.
If you want an advantage in the field, also learn:
- A 3D program – For artists learning to draw, I recommend diving into 3D right away since it exercises your brain’s ability to understand and think in perspective. It is also an invaluable tool to block out spaces and explore ideas. Your goal isn’t to become a 3D animator or special effects artist (unless you want to do that also). Just learn how to navigate with the camera, create and manipulate primitive objects, and render a still image. Actively training your brain to think in 3D will accelarete your ability to draw anything.
- Adobe Illustrator – This program allows you to create and manage vector artwork. You don’t need to be an expert, but learning the basics is important in order to uderstand how to open, manage and deliver this type of art in a wide variety of projects. This can be included as part of your Photoshop subscription. You don’t need to learn this right away, but don’t forget about it! It’s an important tool in your toolbox.
9) Get to work. You won’t be useful professionally to a production until your 5,000th (+/- 1,000) drawing so get started! If you want some inspiration, check out this awesome lecture and demo Feng Zhu of Design Cinema “Ep. 89 – Just Draw!”:
You can do it!
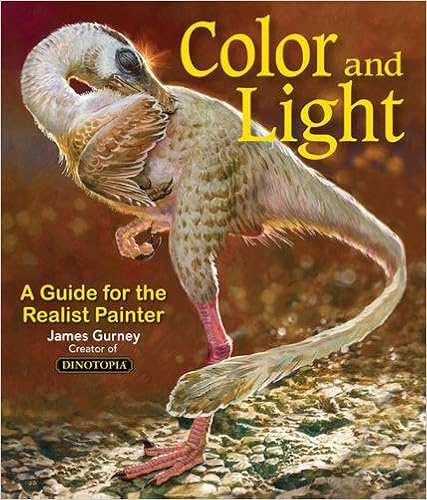
Color and Light: A Guide for the Realist Painter (James Gurney Art)
James is the creator of the imaginitive Dinotopia books. Here he breaks down the color palette and the use of color in a way that changed everything for me.Highly recommended. Make sure to also check out his Gurney Journey blog posts on using gamut masks.
Andrew Loomis: Creative Illustration
Andrew Loomis (1892-1959) is still considered to be a gold standard for professional-level illustrators. You should own this book just for the incredible illustrations, but on top of that, his composition and story telling techniques are so-tried-and-true that if you only used his methods for the rest of your life you’d be set.
Drawing Lessons from the Famous Artists School
This is like the Cliff Notes of the famous Famous Artist School, started in 1948 (search “Famous Artists Course” on eBay and take a look at the original coursework, some fun stuff). It highlights the most important lessons in a more consise, modern style, and even updates some of the original exercises for the digital age. Super fun.
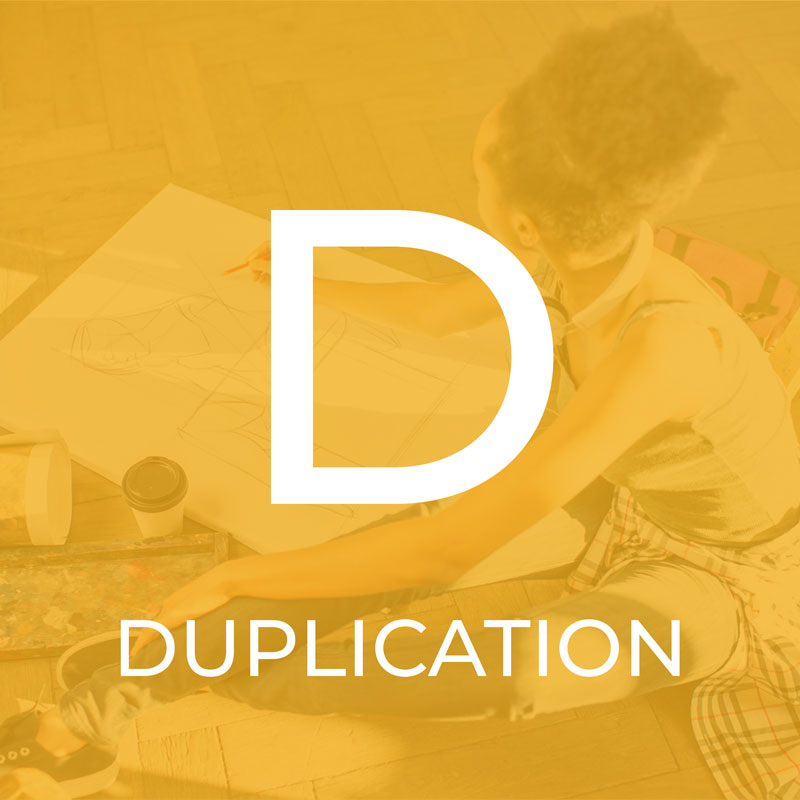
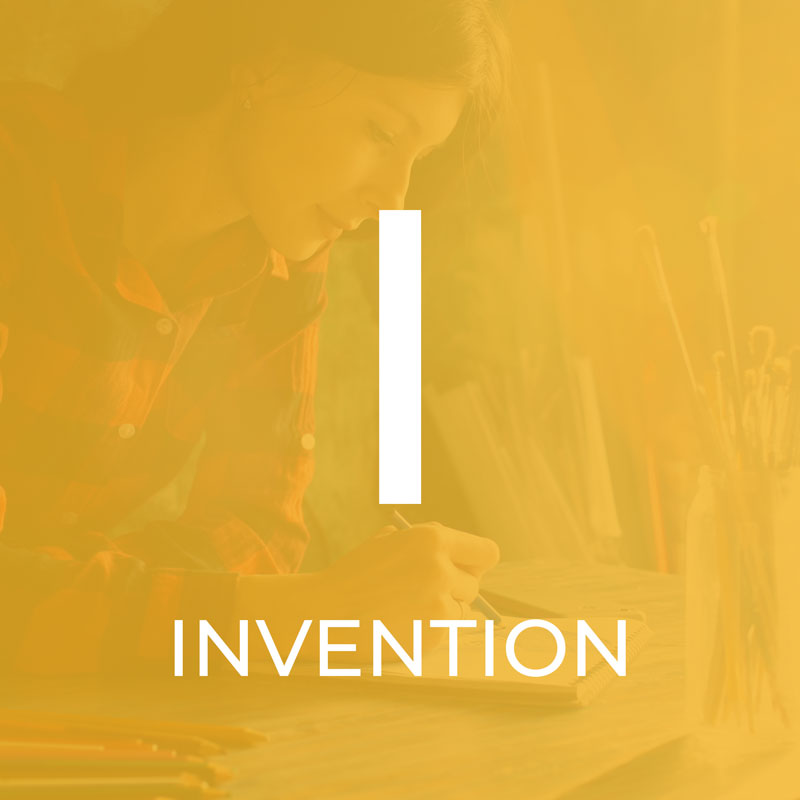
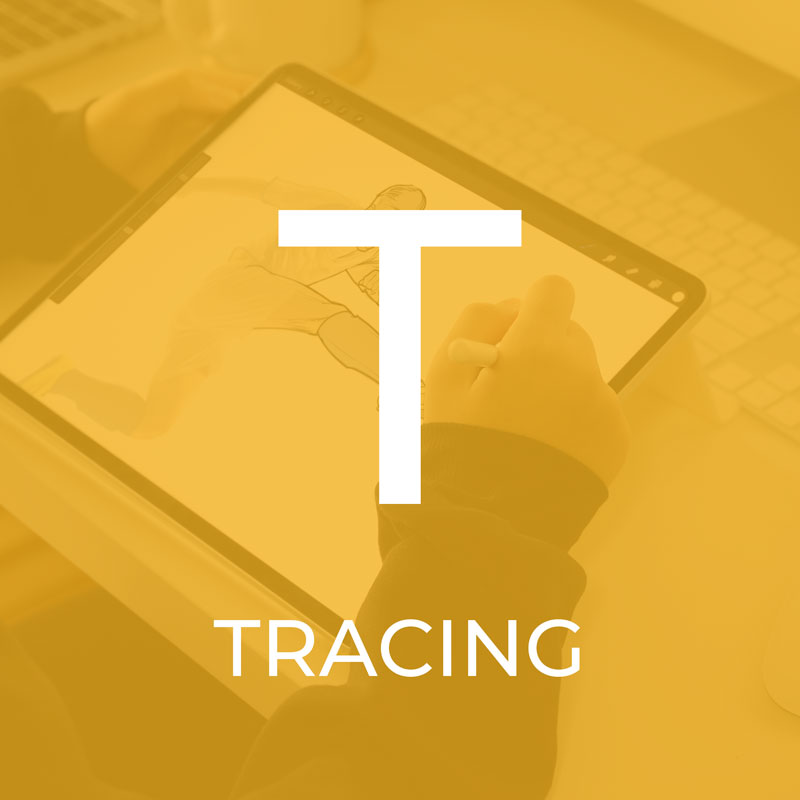
METHODS of the art D.I.E.T.
Once a week, focus your learning time on one of these four methods.